StyleSkier.com Style Skier
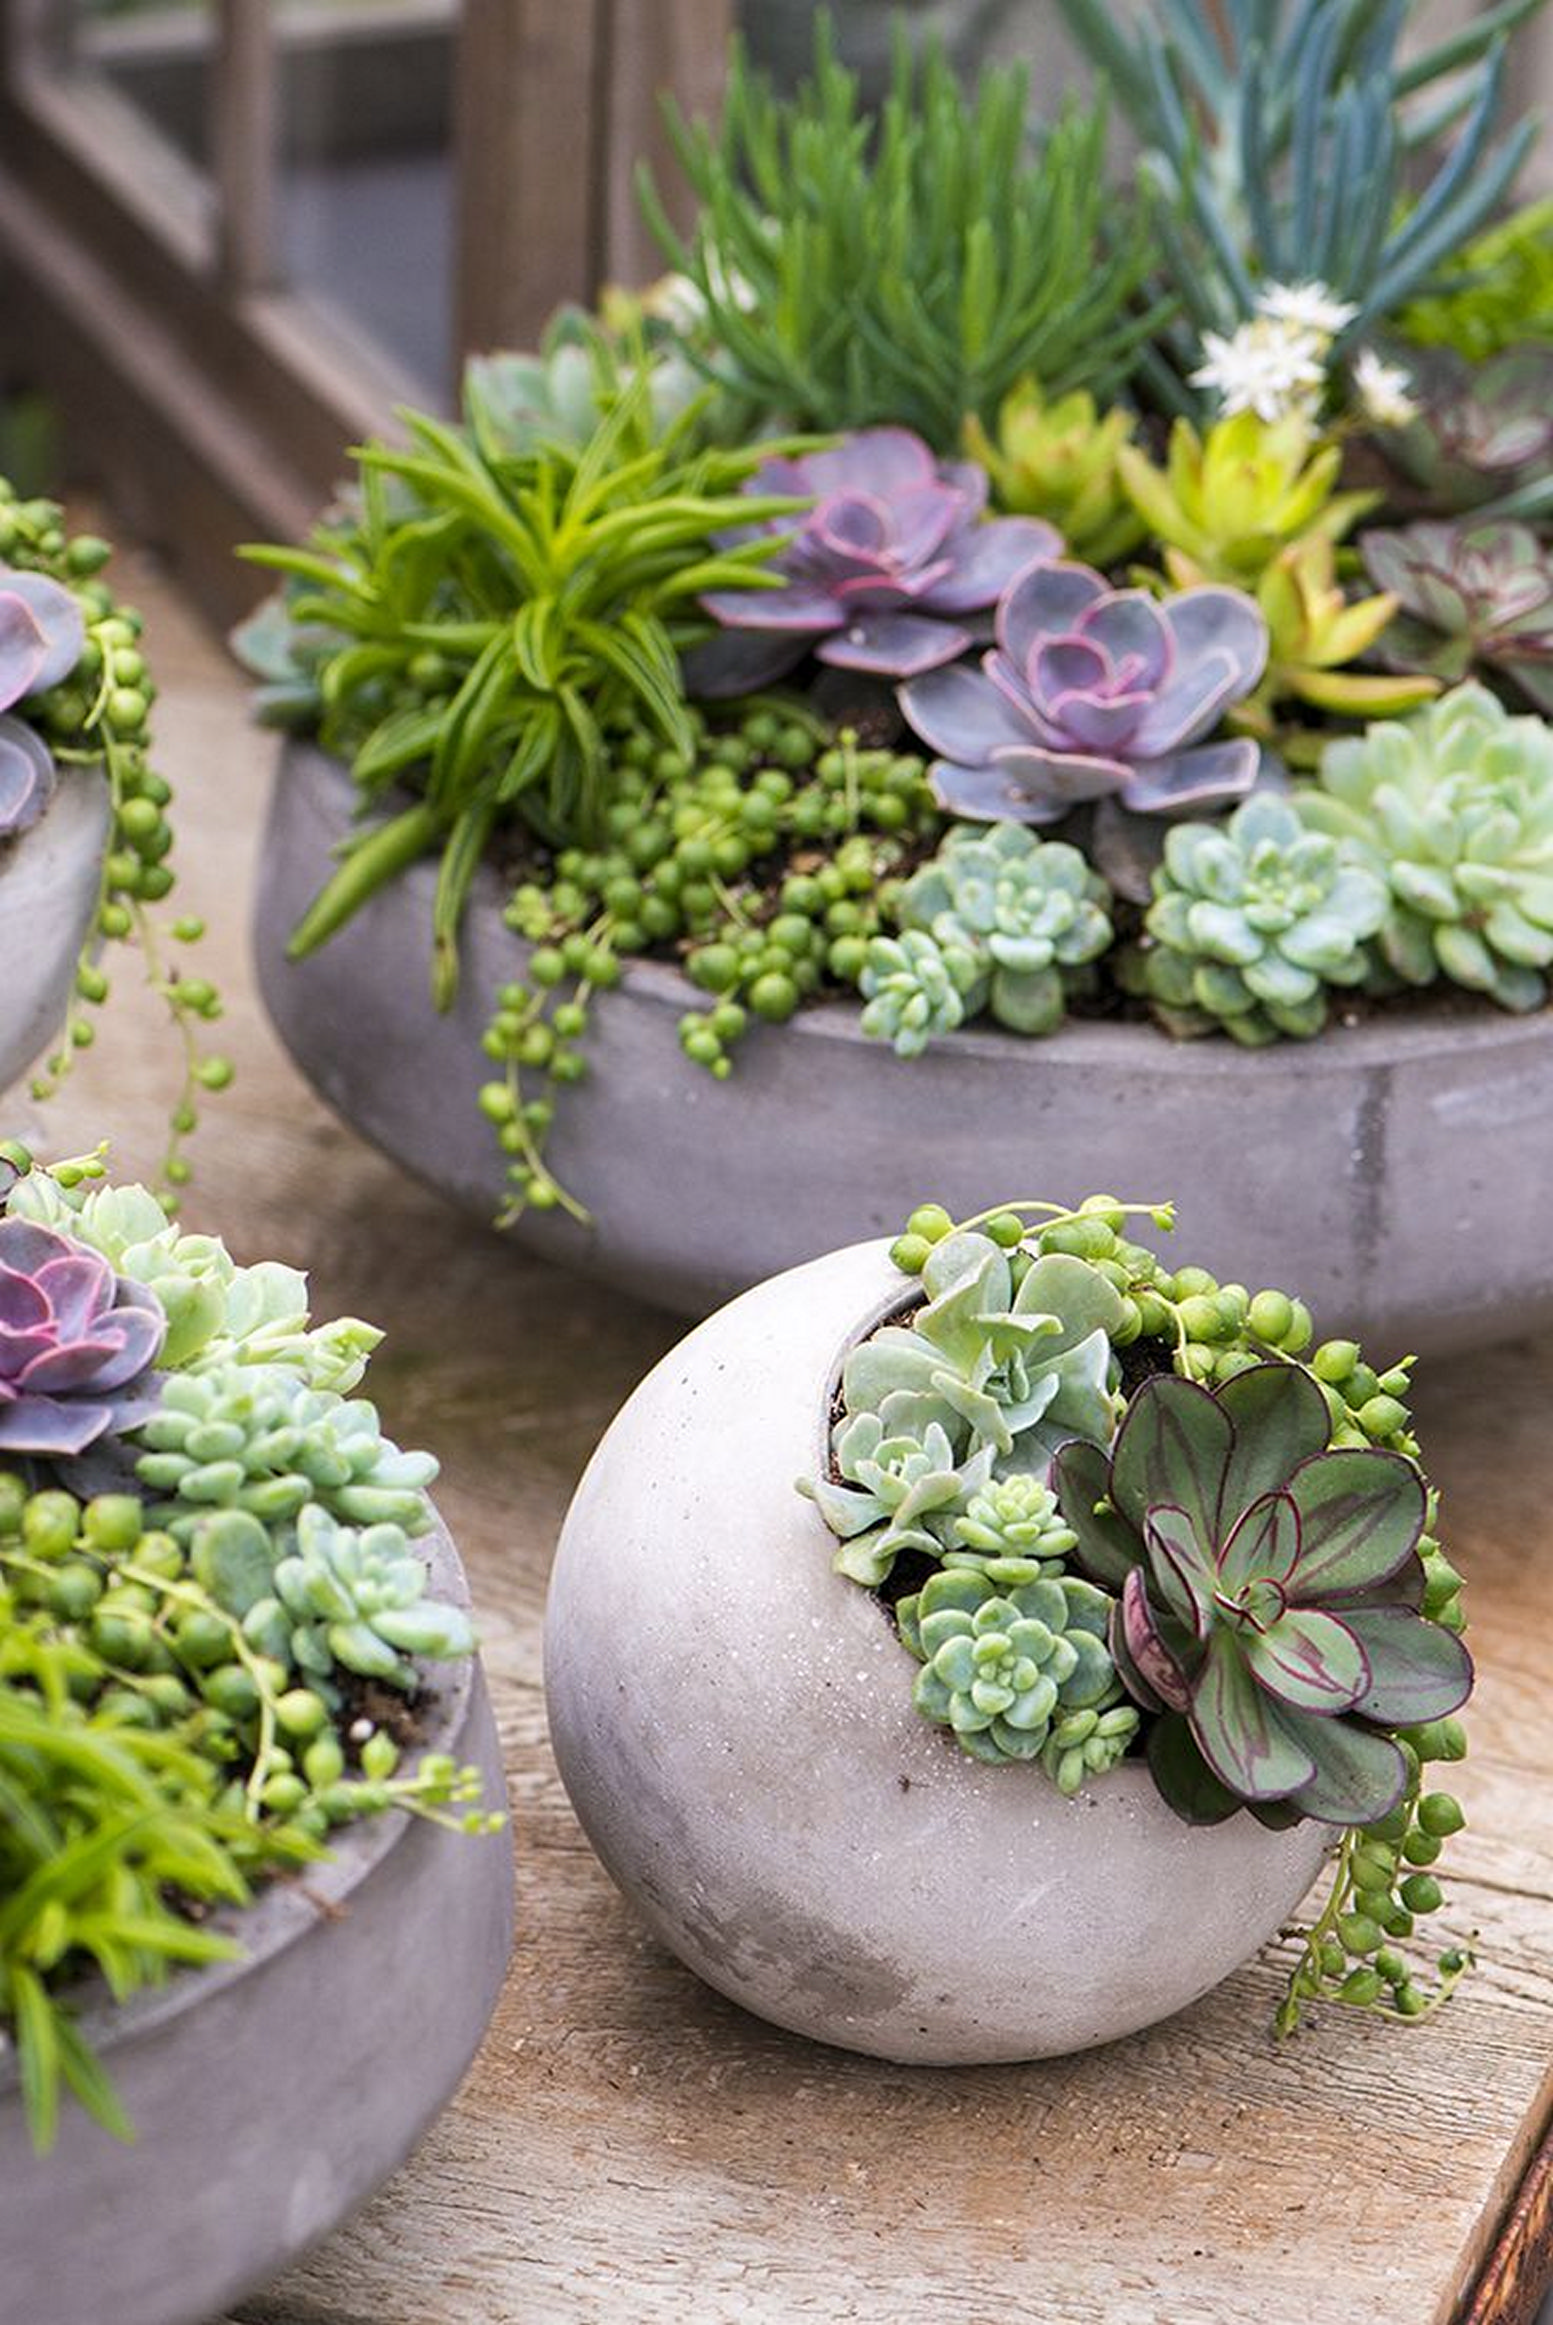
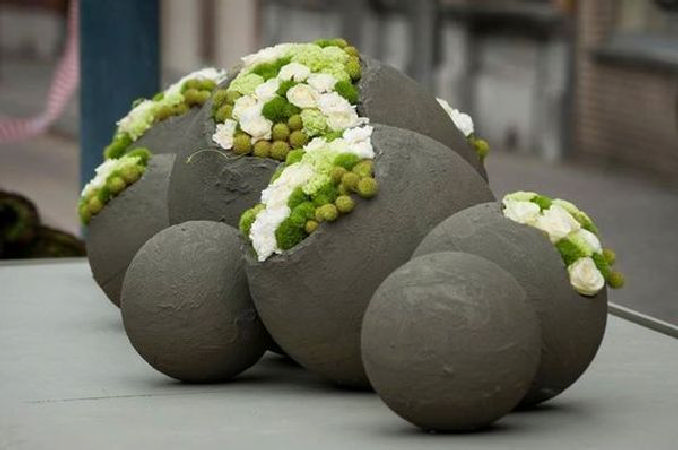
Today I’m going to show you how to make this cement ball planter using a rubber balloon as a shape. Let’s provide all of the material and you can immediately read all of the full tutorials in this article.
Pretty cement slash balloon planter art
The materials and tools you will need to make this cement balloon planter are scissors, a cotton swab, and a large sponge that will require you to pull out the center of the sponge to give it a concave shape. To hold the balloon in place while you work on it, a plastic bag is handy to throw away the extra cement. It also requires water, cement, rapids, balloons, chocolate, and an extra bowl of water to wet your fingers to help with the initial molding, inflate your balloon and then mix the cement.
You’ll feel better after mixing more cement than less. Because the cement dries very quickly for this part. You only need to inflate one and a half of the balloons. Add the water and mix the cement you are trying to make the texture of the cake icing malleable but quite thin. I hope you read this tutorial carefully.
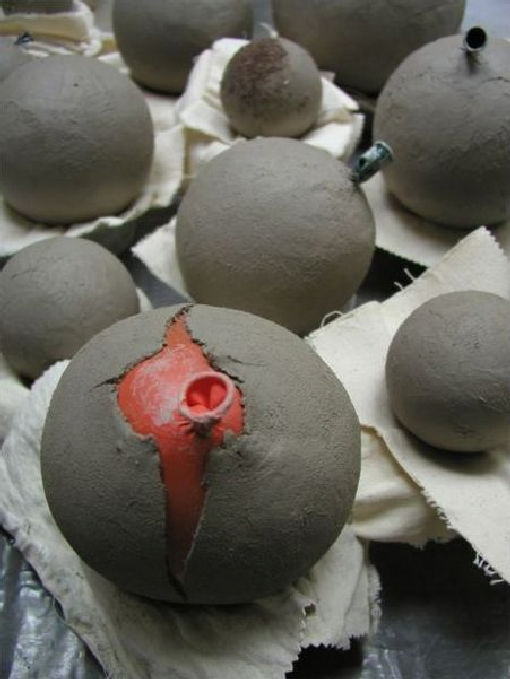
Let’s start with the knotted end of the balloon, but you can also start with both ends taking the balloon and placing it on the sponge. The sponge prevents the balloon from rolling around while you work and prevents it from bursting, although the balloon is very durable.
Take the cement that you mixed with water and put it on top. Start by creating a path around the balloon. You want to shape cement like this. Now focus on simply laying the cement on top of the balloon and you can work on smoothing it out once you have all of the cement in place. Be careful not to go over the center point or you risk the cement as it is too heavy and can crack as it hardens.
Once you get to the midpoint, you can start smoothing and tapering the edges to make it easier when you return to the second half. The feathers are placed to make it easier for the two pieces to transition and to make it easier to mix them together. Also to avoid rough lines at the joints of the two sides when they are joined.
Cleaning the mixing bowl with this paper towel will help preserve the balls so you can use them again. They are now one of the most important parts in making drainage holes. Don’t skip this step, forget to take a cotton swab, soak it in water to make it easier, and just press the bottom a little bit. Rotate the Q-tip to clean the hole.
Now wait one to two hours for the first page to dry. the duration depends on the temperature and humidity in which you are working. After the first half is done, mix the cement for the second half. Don’t you over-complicate yourself by going so far in the first half that fishing in the second half is more fun than it should?
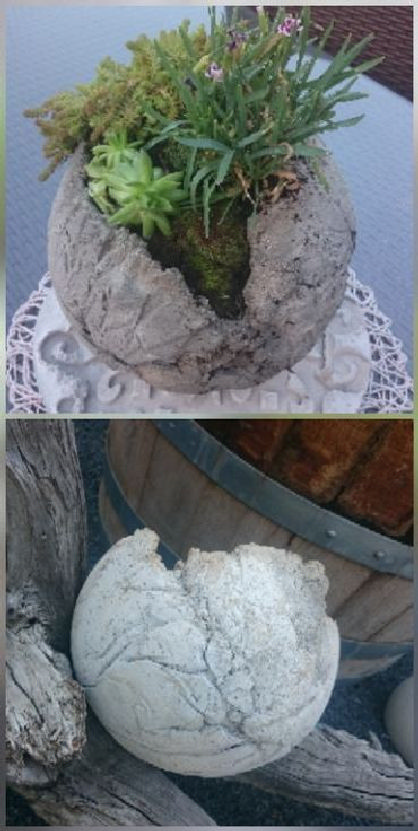
Now add cement to the other side of the balloon. We smooth out the line between hardened cement and fresh cement then make sure you leave a gap big enough for you to put your hand in to plant whatever you’re planting, you leave the second side maintenance for about one hour.
After the cement has set, you can let go of the balloon. Take a pair of scissors and cut a balloon with a knotted end. Now you want to reinforce the planter and mix a little more cement. but this time you want it to be thin enough that you can either water it there or scoop it into the planter. You spread or roll the cement around the planter until you feel the layer is thick enough and keep it under a quarter of an inch so it doesn’t get too heavy.
If all of the steps are successful, clean the cement mixing bowl one last time, then use another cotton swab to clean the drainage holes one more time. How to Make a Balloon Planter Cement for Growing Any Plant You Want. Good luck.