StyleSkier.com Style Skier
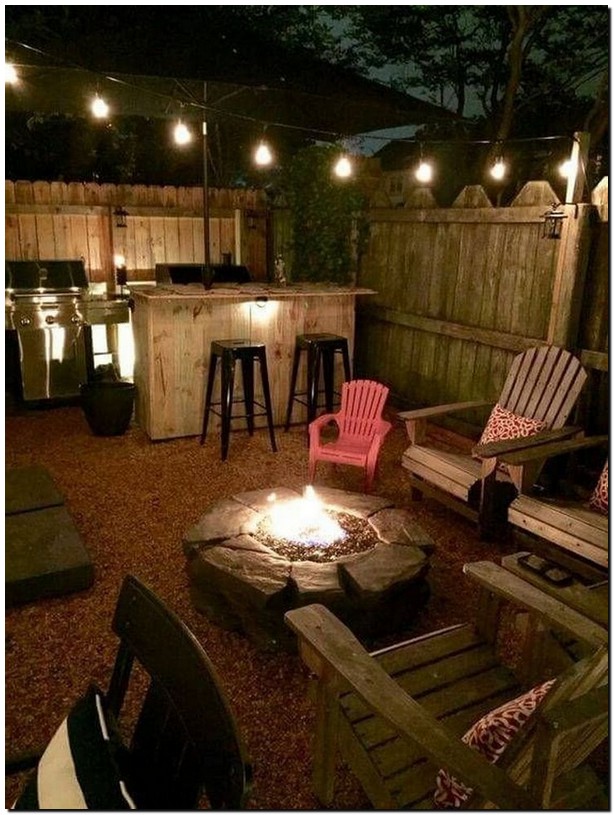
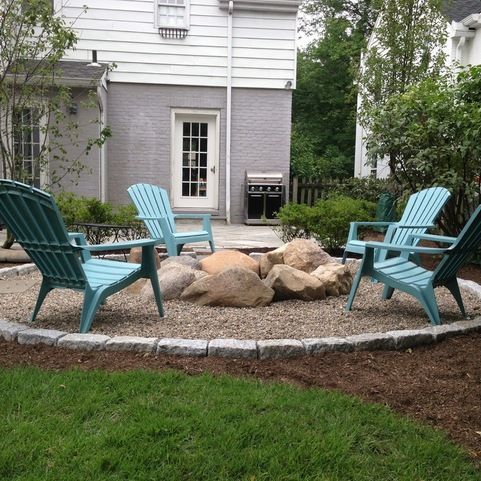
Putting together your own garden pit bowl will no doubt be an attraction. Imagine bathing with your children in the garden on a trendy day near the stove. Or that the thought of barbecuing by the fire all winter seems desirable? Hence, if you want to know how to plant a garden pit, there are certainly a few guidelines you should always follow. Before setting up a flame peel, make sure you only join the spot that surrounds the layers of the pavement, walnut, and concrete pit to get the outer coating.
A brazier in the garden could serve a few functions, such as seats that come in along with gasoline lines to put a hammer in! It’s a relatively inexpensive system than just hiring an expert to assemble a pit. Now you should start a hole that will take about eight hours. Put in handles and walls. When choosing an area, make sure that you are looking for a location that is approximately three to twelve feet long.
materials
1. gravel
2. Concrete glue
3. Maintenance of the wall components
4. Coarse cement sand (inches cubic yards)
Tools
1. Basic safety gloves
2. Calculate the band
3. Handheld T-Amplifier
4. Wheelbarrow
5th amount
6. Wet observed
7. Plate compactor
Treatment – The way to build a small fire pit
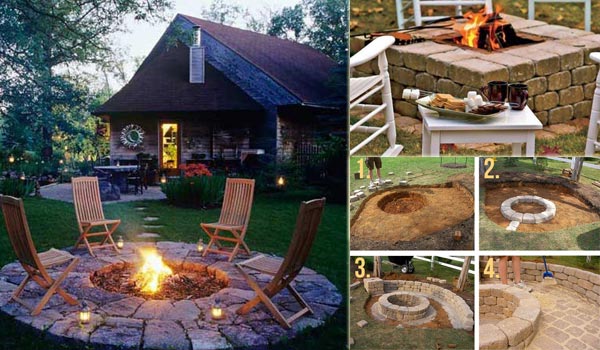
1. Cut in an area of the series that must have a span. Twist one end of this series. The end of the series is associated with an upward May. It uses paint on a ring. Look for the debris and dirt that is inside the circle. Make sure the pit is still buried.
2. Gravel must be implanted over the pit at vertex 6. 6. Make sure you only have the floor left by eloquently rubbing in the dirt. When you’ve raked the coating again, pound it in place. You can spread a thin layer of sand.
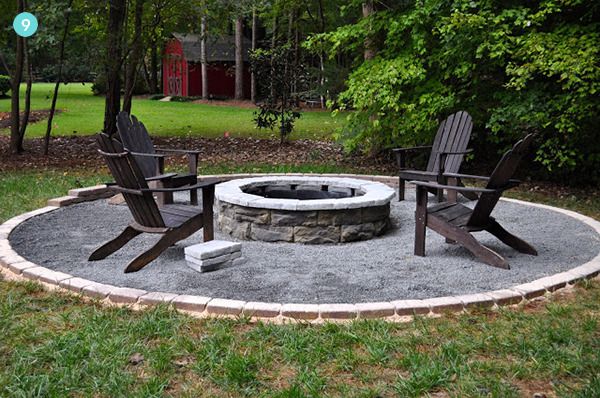
3. Mark an inner radius above the flame bowl, which will serve as useful information for setting walls. Fix the components in the gravel. Once you set the row, keep the dividers inside the circle. Make sure the wall components are in equal degrees.
4. The 2nd row of retaining walls can also contain a seam that stands at the very end and even results in the groove in the bottom. This locks the wall components in place. You can glue each individual unit on with glue. The moment the ingredients are sterile. The claws contain 4-6 inches of the base.
When searching, you can place paving stones. They prepare bricks or set paving stones. To accept yourself, you can always buy smooth curbs. Outside the process, aluminum or edge holders hold holes.
6. You need a plate compactor, top layer, to keep the paver compact. Claws around the hole were exploited to get rid of the corners of your fleeting appearance.