StyleSkier.com Style Skier

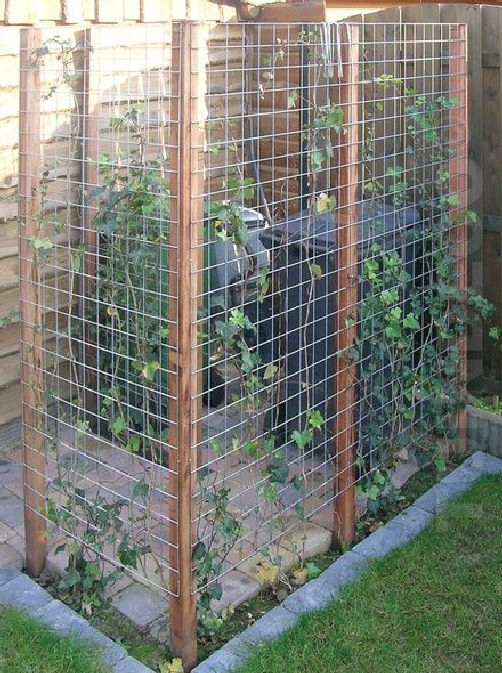
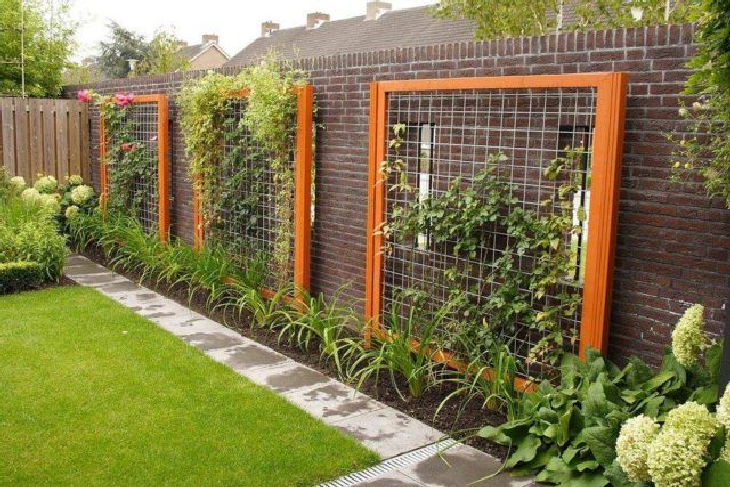
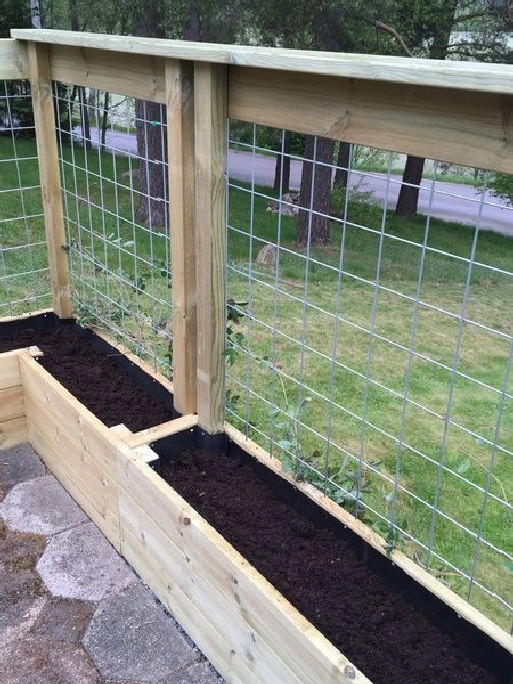
Using trellis design to create a garden fence is safe. A trellis uses branches and horizontal bars to form a vertical latticework that allows a wall to grow and protect the edge from debris, wind, and water damage. A well-designed trellis fence can be built in just one day.
Trellis design works best with a trellis close to the ground. This allows for more ventilation and easier climbing. The floor outside the floor grille will also help save space and better support the canopy.
There are several important factors to consider when planning your trellis design. Some of the most important factors to consider are top level, shape, protection and speed. In addition, the height of the trellis should be sufficient to prevent the trellis from breaking or collapsing under the weight. As you add support to the top level you want to add more resistance and eventually a higher top level will be required.
Start measuring
When building a trellis garden fence, first measure your trellis from base to base. The width of the trellis should be five feet and six inches. After that, plan the entire length of the grid to find the right height and width.
After you’ve determined the length and width, draft your plan and decide how to attach your design. You can use hinges, PVC pipes, stakes, or growth piles. After your design is complete, it’s time to drill holes for the support posts and cut the wood for the support posts.
If you are using breeding stakes, use these and attach them to the trellis by drilling and using the breeding rods as spacers. Then screw them into the post holes and secure them with the screws. However, if you are not using riser inserts, glue can be used to attach them.
Complete Your trellis
To attach the support rods to the trellis design, assemble two pieces of wood and screw them together with two wood screws. You should place the support posts on the ground and place the ends of the support posts on top of the trellis, as they are often referred to as “hatchet posts.” Your trellis fence is now ready.
Once you have your support poles, you’ll want to drill two holes on the floor in the center of each pole. Next you need to attach the lattice supports to the floor. Use two pieces of wood in each hole and screw each into the lattice support.
Next, you need to hang your support poles in the areas where they cross the trellis. Start by attaching the support poles to the top level, then assign each pole to the lattice support in the appropriate location. The support poles should be no less than 1.2 m above the ground, and preferably no more than 1.8 m above the ground.
Depending on the size of your trellis design
You may not need to attach the support poles to the trellis. The height of the trellis can be more than enough for the extra support as it secures the fence. You can also stick two-inch solid wood stakes in the ground or grow stakes instead.
You should secure your support poles to the posts with screws even if you don’t need to do this step as it will make the wood more durable. Wood screws are more reliable than nails, which are an alternative to nailing. They may be easier to remove in the future.
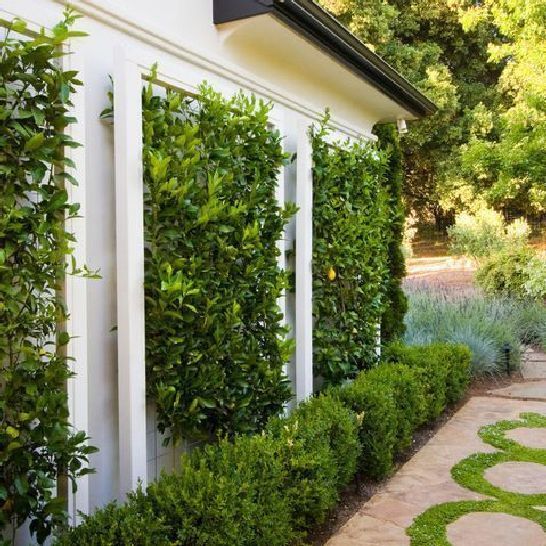
A Trellis The most delicate parts of a trellis design are digging the hole for the support rod, installing the support rods, and installing the trellis. Trellis designs can be a lovely addition to any garden. Outdoor living space and using trellis design to build a garden fence can be made easy with trellis design plans.